


HTTPD (Apache HTTP Server) 설치하기
(이미지 출처 : https://www.flickr.com/photos/rbowen)
HTTPD 로고가 흰색이 많아서 제 홈페이지에 적합하지가 않았습니다.
그 덕에 이미지 검색을 했는데 재미있는 사진을 찾았네요. 아래 인용은 사진에 대한 설명입니다.
The original Apache Group, and the current httpd committers (2015)
Photos by Zaheda Bhorat
HTTPD 설치방법을 알아봅니다.
Apache에서 만든 HTTP Server Project의 결과물이 HTTPD 입니다.
다시 말해서 Apache가 만든 WEB서버 역할을 하는 middleware 입니다.
정적인 파일 출력성능이 뛰어납니다.
Load-balancing과 health-check 기능들을 가지고 WAS서버의 HA확보 기능도 제공합니다.
흔히 Apache라고 불려서 혼란의 원인이 됩니다.
Apache HTTP Server 혹은 HTTPD 라고 불러야 하지 않을까 생각합니다.
하지만 한번에 여러 사람과 일하고 그 멤버가 수시로 바뀌다보니
“Apache 라고 부르지 맙시다!” 라고 얘기해봤자 모두가 변하기는 쉽지 않습니다.
결국 저도 습관적으로 Apache라고 부르는 경우가 대부분입니다.
직접 컴파일해서 설치하는 방법을 설명합니다. ( 참고 : Linux에서 컴파일 설치법을 알아야하는 이유 )
Environment
- RHEL 6.8
Preparation Tasks
HTTPD가 사용하게 될 외부 프로그램들을 미리 설치해둬야 합니다.
그리고 빌드를 위한 gcc 프로그램을 필요합니다.
근데 아마도 gcc, gcc-c++은 설치되어있을 것입니다.
Install APR (Apache Portable Runtime)
HTTPD와 APR과의 버전 의존성이 있습니다.
근데 CentOS, Redhat 에는 구버전의 APR이 설치되어있어서
최신 Apache HTTP Server를 이용하실거라면 APR 설치가 필요합니다.
APR
// download
$ mkdir -p /tmp/install_apache
$ cd /tmp/install_apache
$ wget http://mirror.navercorp.com/apache/apr/apr-1.5.2.tar.gz
$ tar zxvf apr-1.5.2.tar.gz
$ cd apr-1.5.2

// compile
$ ./configure --prefix=/usr/local/apr
$ make
$ make install
APR-util
// download
$ mkdir -p /tmp/install_apache
$ cd /tmp/install_apache
$ wget http://mirror.navercorp.com/apache/apr/apr-util-1.5.4.tar.gz
$ tar zxvf apr-util-1.5.4.tar.gz
$ cd apr-util-1.5.4

// compile
$ ./configure --prefix=/usr/local/apr-util
$ make
$ make install
References
Install PCRE (Perl Compatible Regular Expressions)
// download
$ mkdir -p /tmp/install_apache
$ cd /tmp/install_apache
$ wget https://ftp.pcre.org/pub/pcre/pcre-8.38.tar.gz
$ tar zxvf pcre-8.38.tar.gz
$ cd pcre-8.38

// compile
$ ./configure --prefix=/usr/local/pcre
$ make
$ make install
Reference
Install Openssl
// download
$ mkdir -p /tmp/install_apache
$ cd /tmp/install_apache
$ wget https://www.openssl.org/source/openssl-1.0.2l.tar.gz
$ tar zxvf openssl-1.0.2l
$ cd openssl-1.0.2l

// compile
$ ./config -fPIC --prefix=/usr/local/ssl
$ make depend
$ make
$ make install
References
Install nghttp2
http/2.x 를 이용하기 위한 프로그램입니다.
// download
$ mkdir -p /tmp/install_apache
$ cd /tmp/install_apache
$ wget https://github.com/nghttp2/nghttp2/releases/download/v1.23.0/nghttp2-1.23.1.tar.gz
$ tar xfz nghttp2-1.23.1.tar.gz
$ cd nghttp2-1.23.1

// compile
$ export LDFLAGS="-I/usr/local/ssl/include"
$ export OPENSSL_CFLAGS="-I/usr/local/ssl/include"
$ export OPENSSL_LIBS="-L/usr/local/ssl -lssl -lcrypto"
$ ./configure --prefix=/usr/local/nghttp2
$ make
$ make install
References
Setting HTTPD Apache
Install Apache HTTP Server
// download
$ mkdir -p /tmp/install_apache
$ cd /tmp/install_apache
$ wget http://mirror.navercorp.com/apache/httpd/httpd-2.4.25.tar.gz
$ tar xfz httpd-2.4.25.tar.gz
$ cd httpd-2.4.25

// compile
$ ./configure \
--prefix=/usr/local/httpd \
--enable-unique-id --enable-so --enable-proxy --enable-mods-shared=all \
--with-mpm=worker --enable-mpms-shared=all \
--with-apr=/usr/local/apr --with-apr-util=/usr/local/apr-util \
--with-pcre=/usr/local/pcre \
--with-ssl=/usr/local/ssl --enable-ssl \
--with-nghttp2=/usr/local/nghttp2 --enable-http2 --enable-proxy-http2
$ make
$ make install
References
Make An Account
가장 어려운 과정입니다.
HTTPD를 관리할 {account}명과 {group}명을 정하세요.
그런 다음 {account}, {group} 을 생성하세요.
$ groupadd {group}
$ useradd -g {group} {account}
$ passwd {account}
Establish Authority
$ chmod 700 /usr/local/httpd -R
$ chown {account}:{group} /usr/local/httpd -R
Start / Stop HTTPD
Start HTTPD
$ /usr/local/httpd/bin/apachectl
HTTPD를 /usr/local/httpd에 설치했기 때문에
현재 설정파일(httpd.conf)는 /usr/local/httpd/conf/httpd.conf에 위치해있습니다.
만약 다른 위치의 설정파일을 이용해서 기동하고 싶다면 -f 옵션을 이용하면 됩니다.
$ /usr/local/httpd/bin/apachectl -f /another_path/httpd.conf
Stop HTTPD
$ /usr/local/httpd/bin/apachectl -k stop
부모 프로세스는 즉시 모든 자식을 종료시킨다. 자식을 완전히 종료시키는데는 몇 초가 걸릴 수 있다. 그런 후 부모가 종료한다. 처리중인 요청은 중단되고, 더 이상 요청을 받지않는다.
( 출처 : https://httpd.apache.org/docs/2.4/ko/stopping.html )
Gracefully Restart HTTPD
$ /usr/local/httpd/bin/apachectl -k graceful
부모 프로세스는 자식들에게 현재 요청을 처리한후 종료하라고 (혹은 현재 아무것도 처리하지 않다면 즉시 종료하라고) 조언한다. 부모는 설정파일을 다시읽고 로그파일도 다시 연다. 자식이 죽을때마다 부모는 종료된 자식대신 새로운 설정 세대에 기초한 자식을 실행하여 즉시 요청을 처리하게 한다.
( 출처 : https://httpd.apache.org/docs/2.4/ko/stopping.html )
Restart HTTPD
$ /usr/local/httpd/bin/apachectl -k restart
부모 프로세스는 모든 자식을 종료시키지만 부모는 종료하지 않는다. 부모는 설정파일을 다시읽고 로그파일을 다시 연다. 그리고 새로운 자식들을 만들고 서비스를 계속한다.
( 출처 : https://httpd.apache.org/docs/2.4/ko/stopping.html )
References
Test
기본설정으로 HTTPD를 실행시키면 80 port가 LISTEN 상태일 것입니다.
$ netstat -nap | grep httpd
브라우저 혹은 cURL 을 이용해서 접속해보면 Apache HTTP Server라는 정보가 출력될 것입니다.
$ curl -i http://localhost
설치 후 불필요해진 파일 정리작업
설치를 위해서 다운받은 파일들을 제거합니다.
$ rm -rf /tmp/install_apache
httpd.conf 설정
HTTPD 설정은 다음 글에서 작성하겠습니다.
- Tomcat 연동 - AJP 설정
- Tomcat 연동 - Proxy-pass 설정
- Forward-Proxy 설정
Associated Posts
관련된 주제를 살펴볼 수 있도록 동일한 Tag를 가진 글들을 모아뒀습니다. 제목을 눌러주세요.-
Git CLI 개인환경 설정

( 이미지 출처 : https://git-scm.com )git-cli 세팅 후 필요한 개인적인 환경설정 작업들을 기술합니다.
... 더 읽기 -
Windows WSL2를 이용한 Ubuntu, Docker, Kubernetes 환경구성
( 이미지 출처 : https://docs.microsoft.com )Windows 환경에서 Ubuntu를 사용하기 위한 WSL 세팅 후 필요한 개인적인 환경설정 작업들을 기술 합니다.
... 더 읽기 -
Setting Android Studio
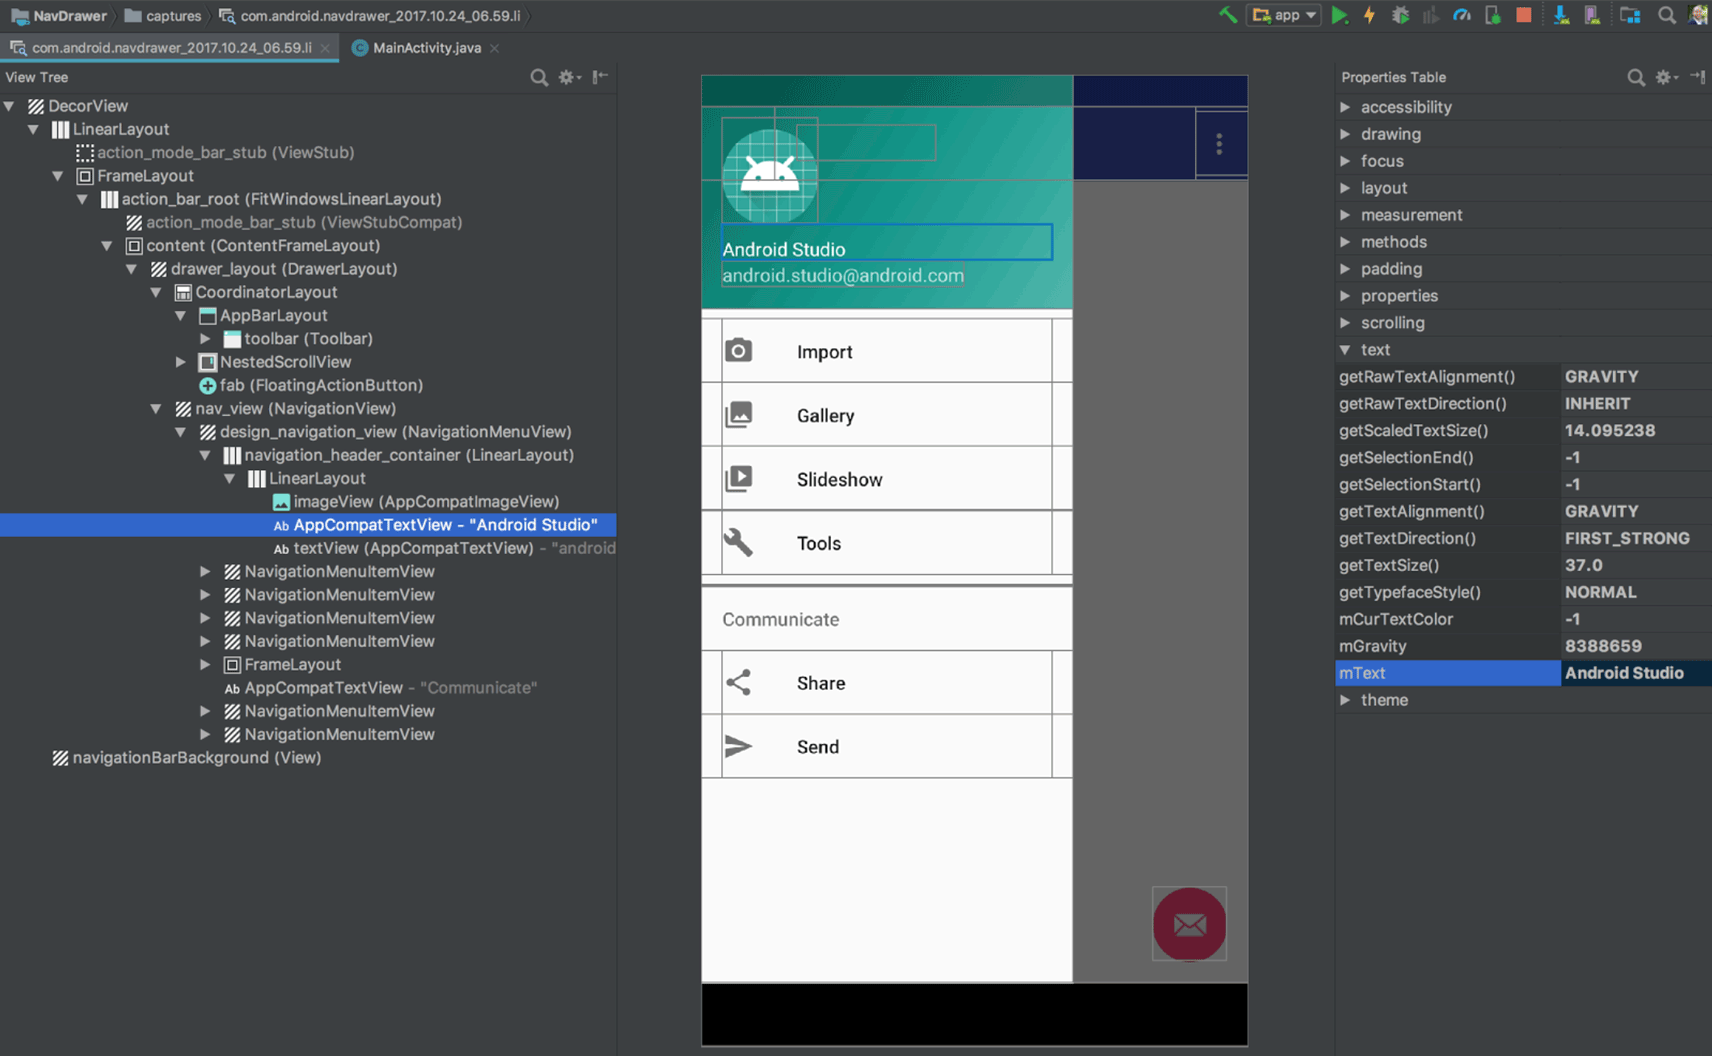
( 이미지 출처 : https://developer.android.com/ )이 글은 Ubuntu 환경에서 Android Studio를 설치하고 설정하는 방법을 설명합니다.
특히 기존에 Google Play에 등록해둔 앱을 새로운 Ubuntu & Android Studio 환경에서 개발하기 위해 개발환경을 구축하는 분들을 위한 글입니다.
Android 앱 개발에 대한 내용은 다루지 않습니다.... 더 읽기 -
Ubuntu 18.04 LTS
-
Python3.6 설치
-
Python WAS 구축하기 ( Django, Nginx, Gunicorn )
-
Docker 설치 후 이미지 보관 디렉토리 변경
-
Linux에서 컴파일 설치법을 알아야하는 이유
-
Docker를 이용해서 SonarQube 간단히 설정하기
-
SonarQube 로 Android 소스코드 분석하기
-
How To Set Up SVN(Subversion) Repositories
-
Install CentOS with Docker
-
Nginx SSL 적용방법
-
How to install Nginx & Tomcat
-
Ubuntu 설치 후 초기세팅
-
How to install MariaDB 10.01 on Ubuntu 14.04 LTS
-
How to install Java 8 On Ubuntu
-
Ubuntu 14.04 LTS